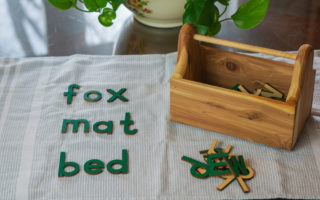
Teaching Reading and Writing to 2 1/2-6 year olds at home the Montessori Way!
Sandpaper letters are one of Maria Montessori’s original lessons. Although you can purchase some lovely ones online, I decided it would be fun to try and make some at home. This “work” has always been one of my favorites, and I think it is for the children as well.
So friends, here is a fun DIY project for homeschool and the reading and writing lesson for your 3-6-year-old.
*I will link below some sandpaper letters on amazon you can purchase if you are not interested in DIY, LOL, I totally understand.
Your 2 1/2 or 3-year-old child is in what Dr. Montessori called “the sensitive period for language.” This time in your littles life is a time that a language-rich environment should be provided. This simply means allowing them to hear language, touch and experience sounds, and see letters EVERYWHERE.

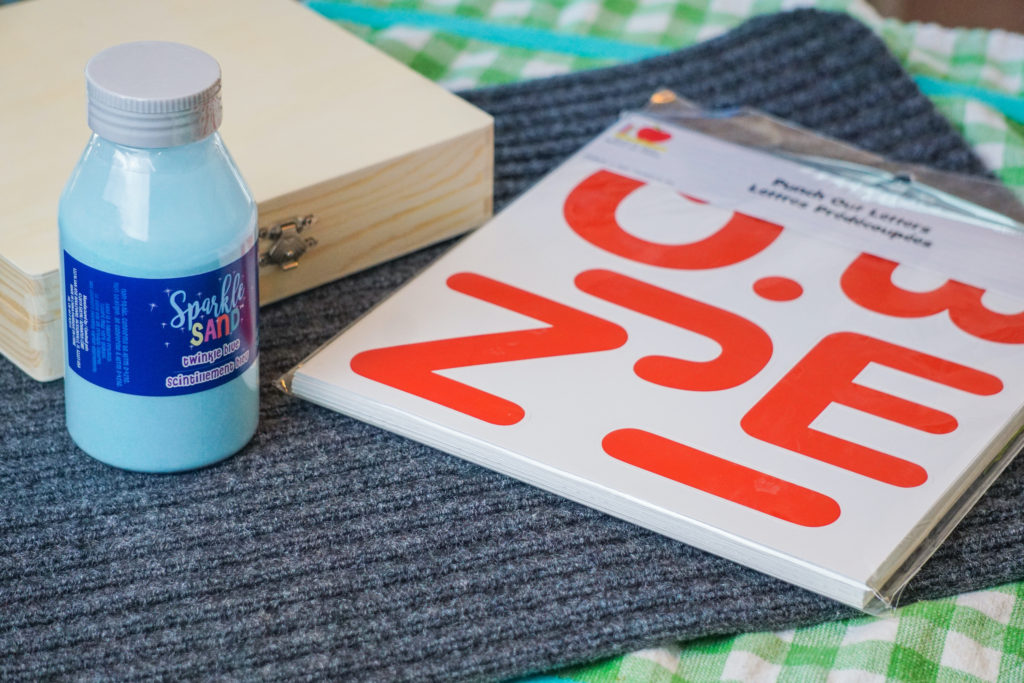
Here is how I created these.
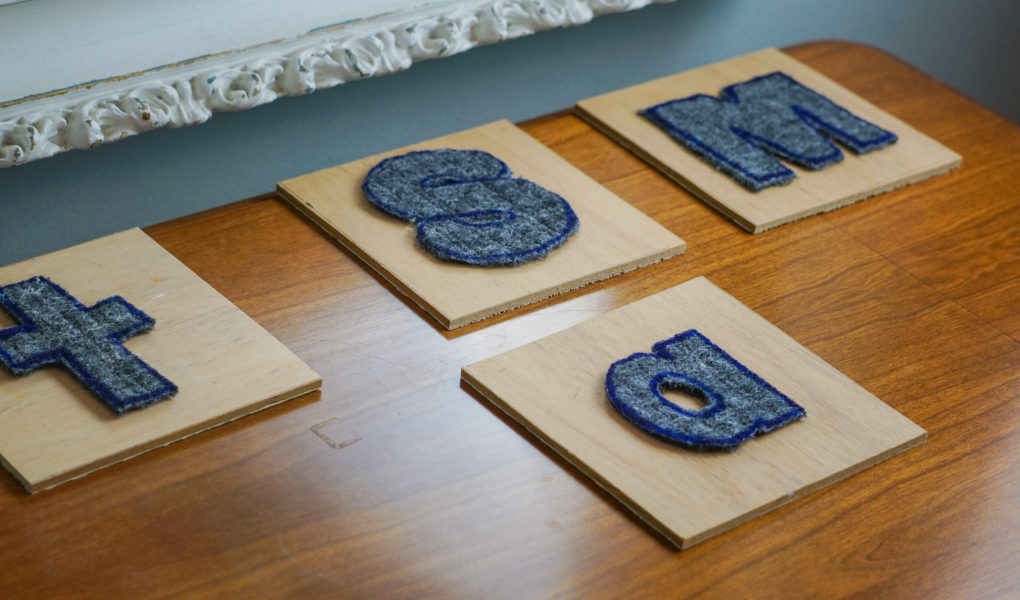
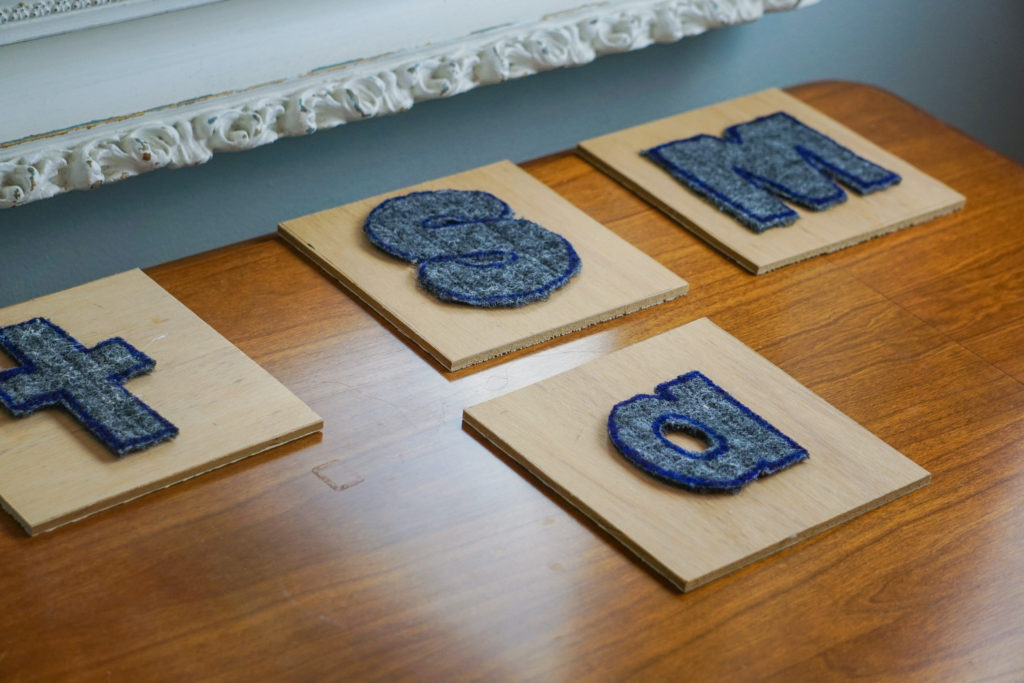
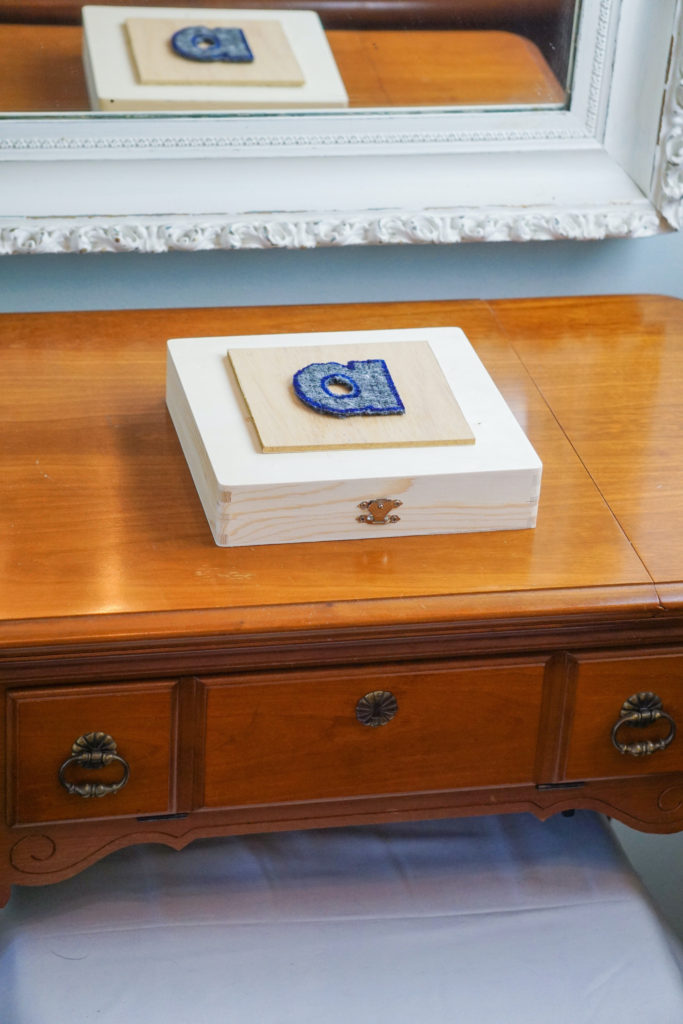
- I purchased a rug/floor mat from the Dollar Store and used some letter stencils to cut out S, M, A, T. You could also use sandpaper sheets; I just found this to be cheaper. My Montessori training with CGMS suggested grouping the sounds, and this was the first grouping of letters.
- After cutting out the letters, you could actually leave as is because they are really thick. However, I had some scrap wood, and my son cut it into squares, and I hot glued the letters on. By the way, I hot glued my finger to the wood. I mean, if you can injure yourself with a tool (knife, scissors, glue), I will, it seems inevitable. My kids all rolled their eyes when I told them what I did.
- Find a nice box or basket to display them in on your language homeschool shelf.
Sandpaper letter lesson:
- Choose a few letters and bring them to the table with your child.
- Use your middle and pointer fingers to trace the letter and make the sound. For example, if the letter is S, then trace and say, “sssssssss.” Do this two or three times sliding the letter to the child and inviting them to trace and make the sound. No need to call the letter by its name but always by the sound it makes. This cuts out any confusion that letter “A” actually makes the sound “ahhhhhhhh.” I hope this is making sense.
- Repeat this lesson with the other letters.
So what is next? Well, there are many extensions to this, including the 3-period lesson or a game of “what begins with ssssssss” in our home?
You could also do a fun game of knock knock. You would turn the letters over and knock on the back and say, “knock knock,” and the child would say, “whose there?” Then turn a letter over and wait and see if the child says the sound of the letter. If they can’t recall it, simply trace it with your fingers and repeat its name. Then invite them to do the same. If they do get it correct right away, then move to the next sound and start the game again.
That is it, friends! Next, I will show you the lesson for the sand tray. Let me know if there are any specific lessons or subjects that you need suggestions on.
https://www.montessoriservices.com/ideas-insights/sandpaper-letters-refresh-your-presentations